How to Self Host n8n?
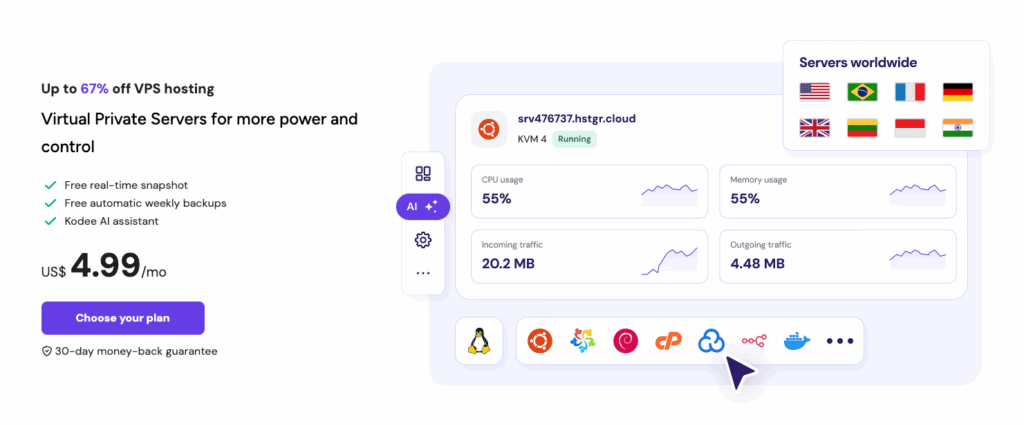
The best way to self host n8n is to use Hostinger n8n VPS hosting. We’ve tried multiple other options, both free and premium, but you need to install n8n manually through the terminal. However, Hostinger offers a pre-tuned n8n setup where you can self host with just a single click.
We have been using Hostinger for nearly five years, and we are happy with its reliability, with mostly a little 1 or 2 downtimes a year. This is essential for running n8n, as frequent downtimes will cause issues with your workflow automation.
Enough stories, now let’s move to learn how to self-host n8n on Hostinger.
Self Host n8n using Hostinger
Visit Hostinger.com using our link to get 10% off on Hostinger n8n VPS hosting plans.
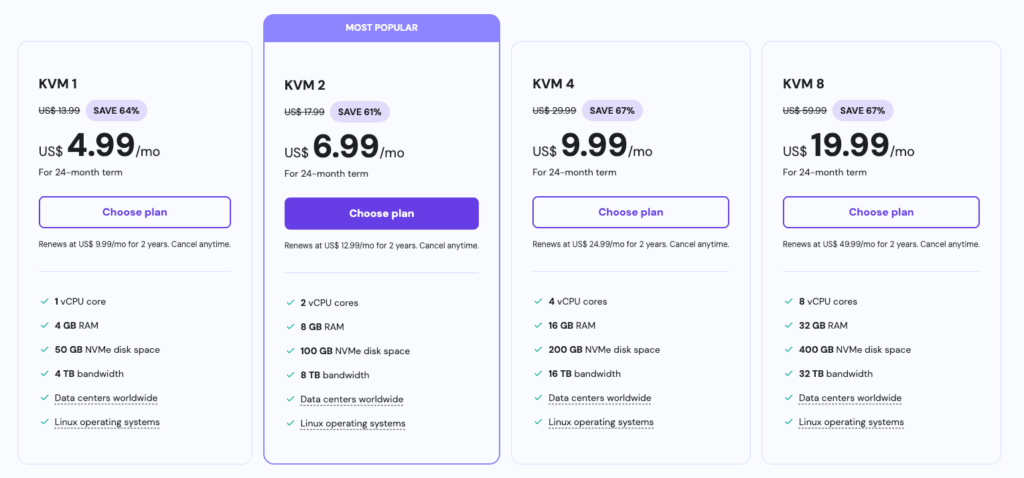
There are four plans available to choose from. You can get started with KVM1, although KVM2 is most preferred due to the presence of 2 vCPU cores and 8GB RAM. Click the Choose Plan button.
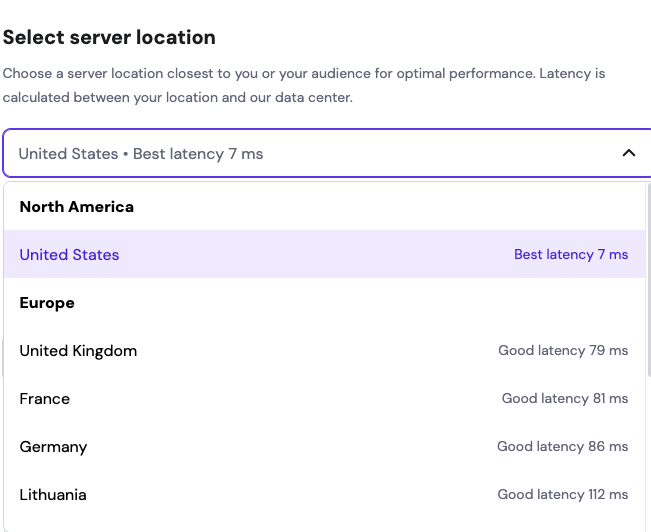
Select a server location closer to you for faster access to n8n. Hostinger will display the latency time of each of its data center locations.
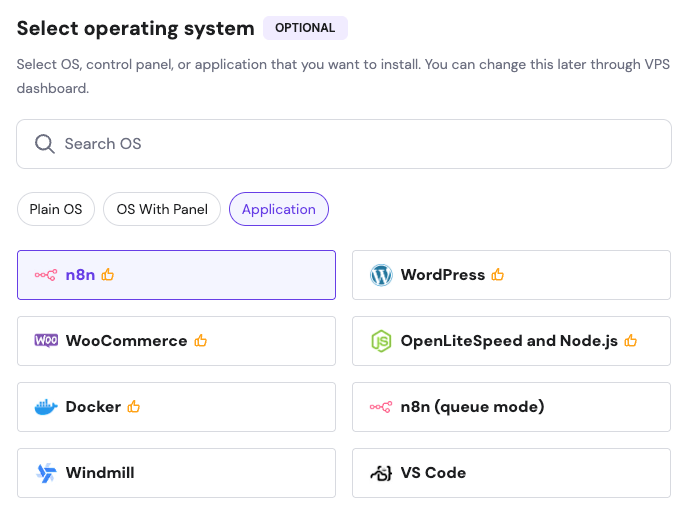
Now comes the fun part. Under Select Operating System, click the application tab and select n8n.
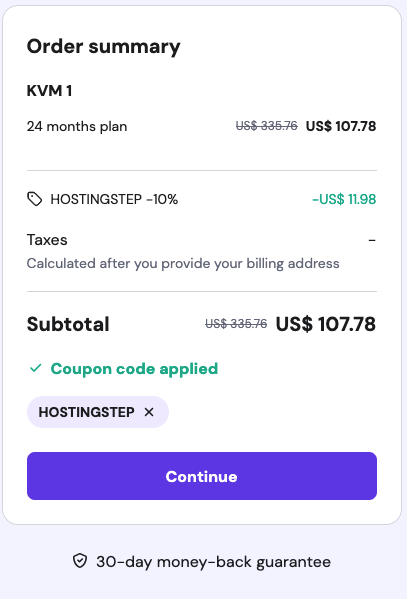
Now comes the savings part. Click “Have a coupon Code” and enter HOSTINGSTEP as the code. You will get 10% off.
Next, you can register with Hostinger and complete the process. It will redirect you to the VPS control panel with n8n installed.
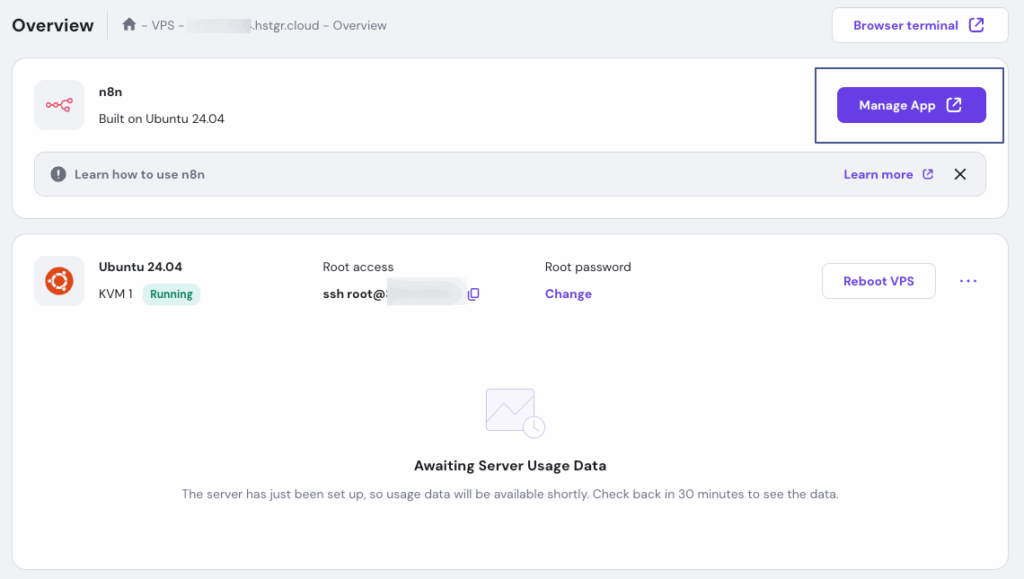
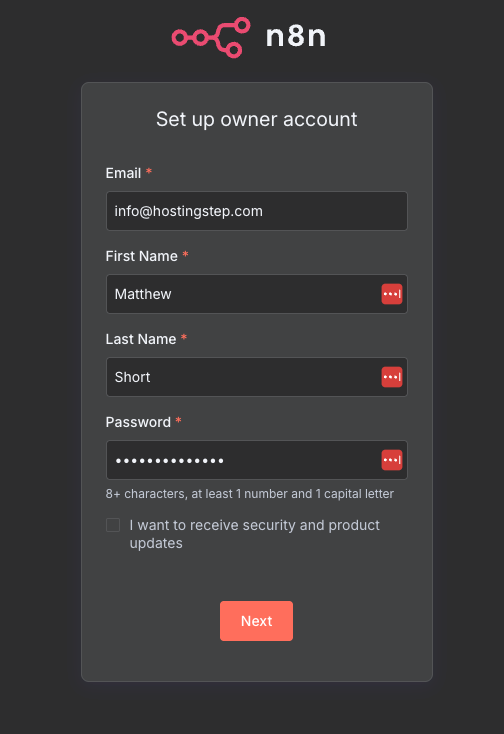
Click the “Manage App” button, which will direct you to the n8n registration page. You are now ready to start your workflow automation.
How much does it cost to self host n8n?
It costs around $4.99/month to self host n8n on Hostinger. There are cheaper options available, but it doesn’t come with a pre-defined n8n setup, and you need to install it via terminal manually.
Self-Host n8n with Hostinger
The easiest way to get n8n running with one-click setup